Tips for your DIY newborn session

2020 was a write-off and this year isn’t exactly starting off on the right foot either. I worked with a total of just 3 newborns last year, due to COVID-19 and I can’t help but think of all of the new parents who desperately wanted some professional photos taken, but had to make do with using their phones.
After receiving an email from a client who was supposed to be bringing her newborn into see me this month and who was so disappointed that it’s just not safe enough, I decided to offer her some remote help.
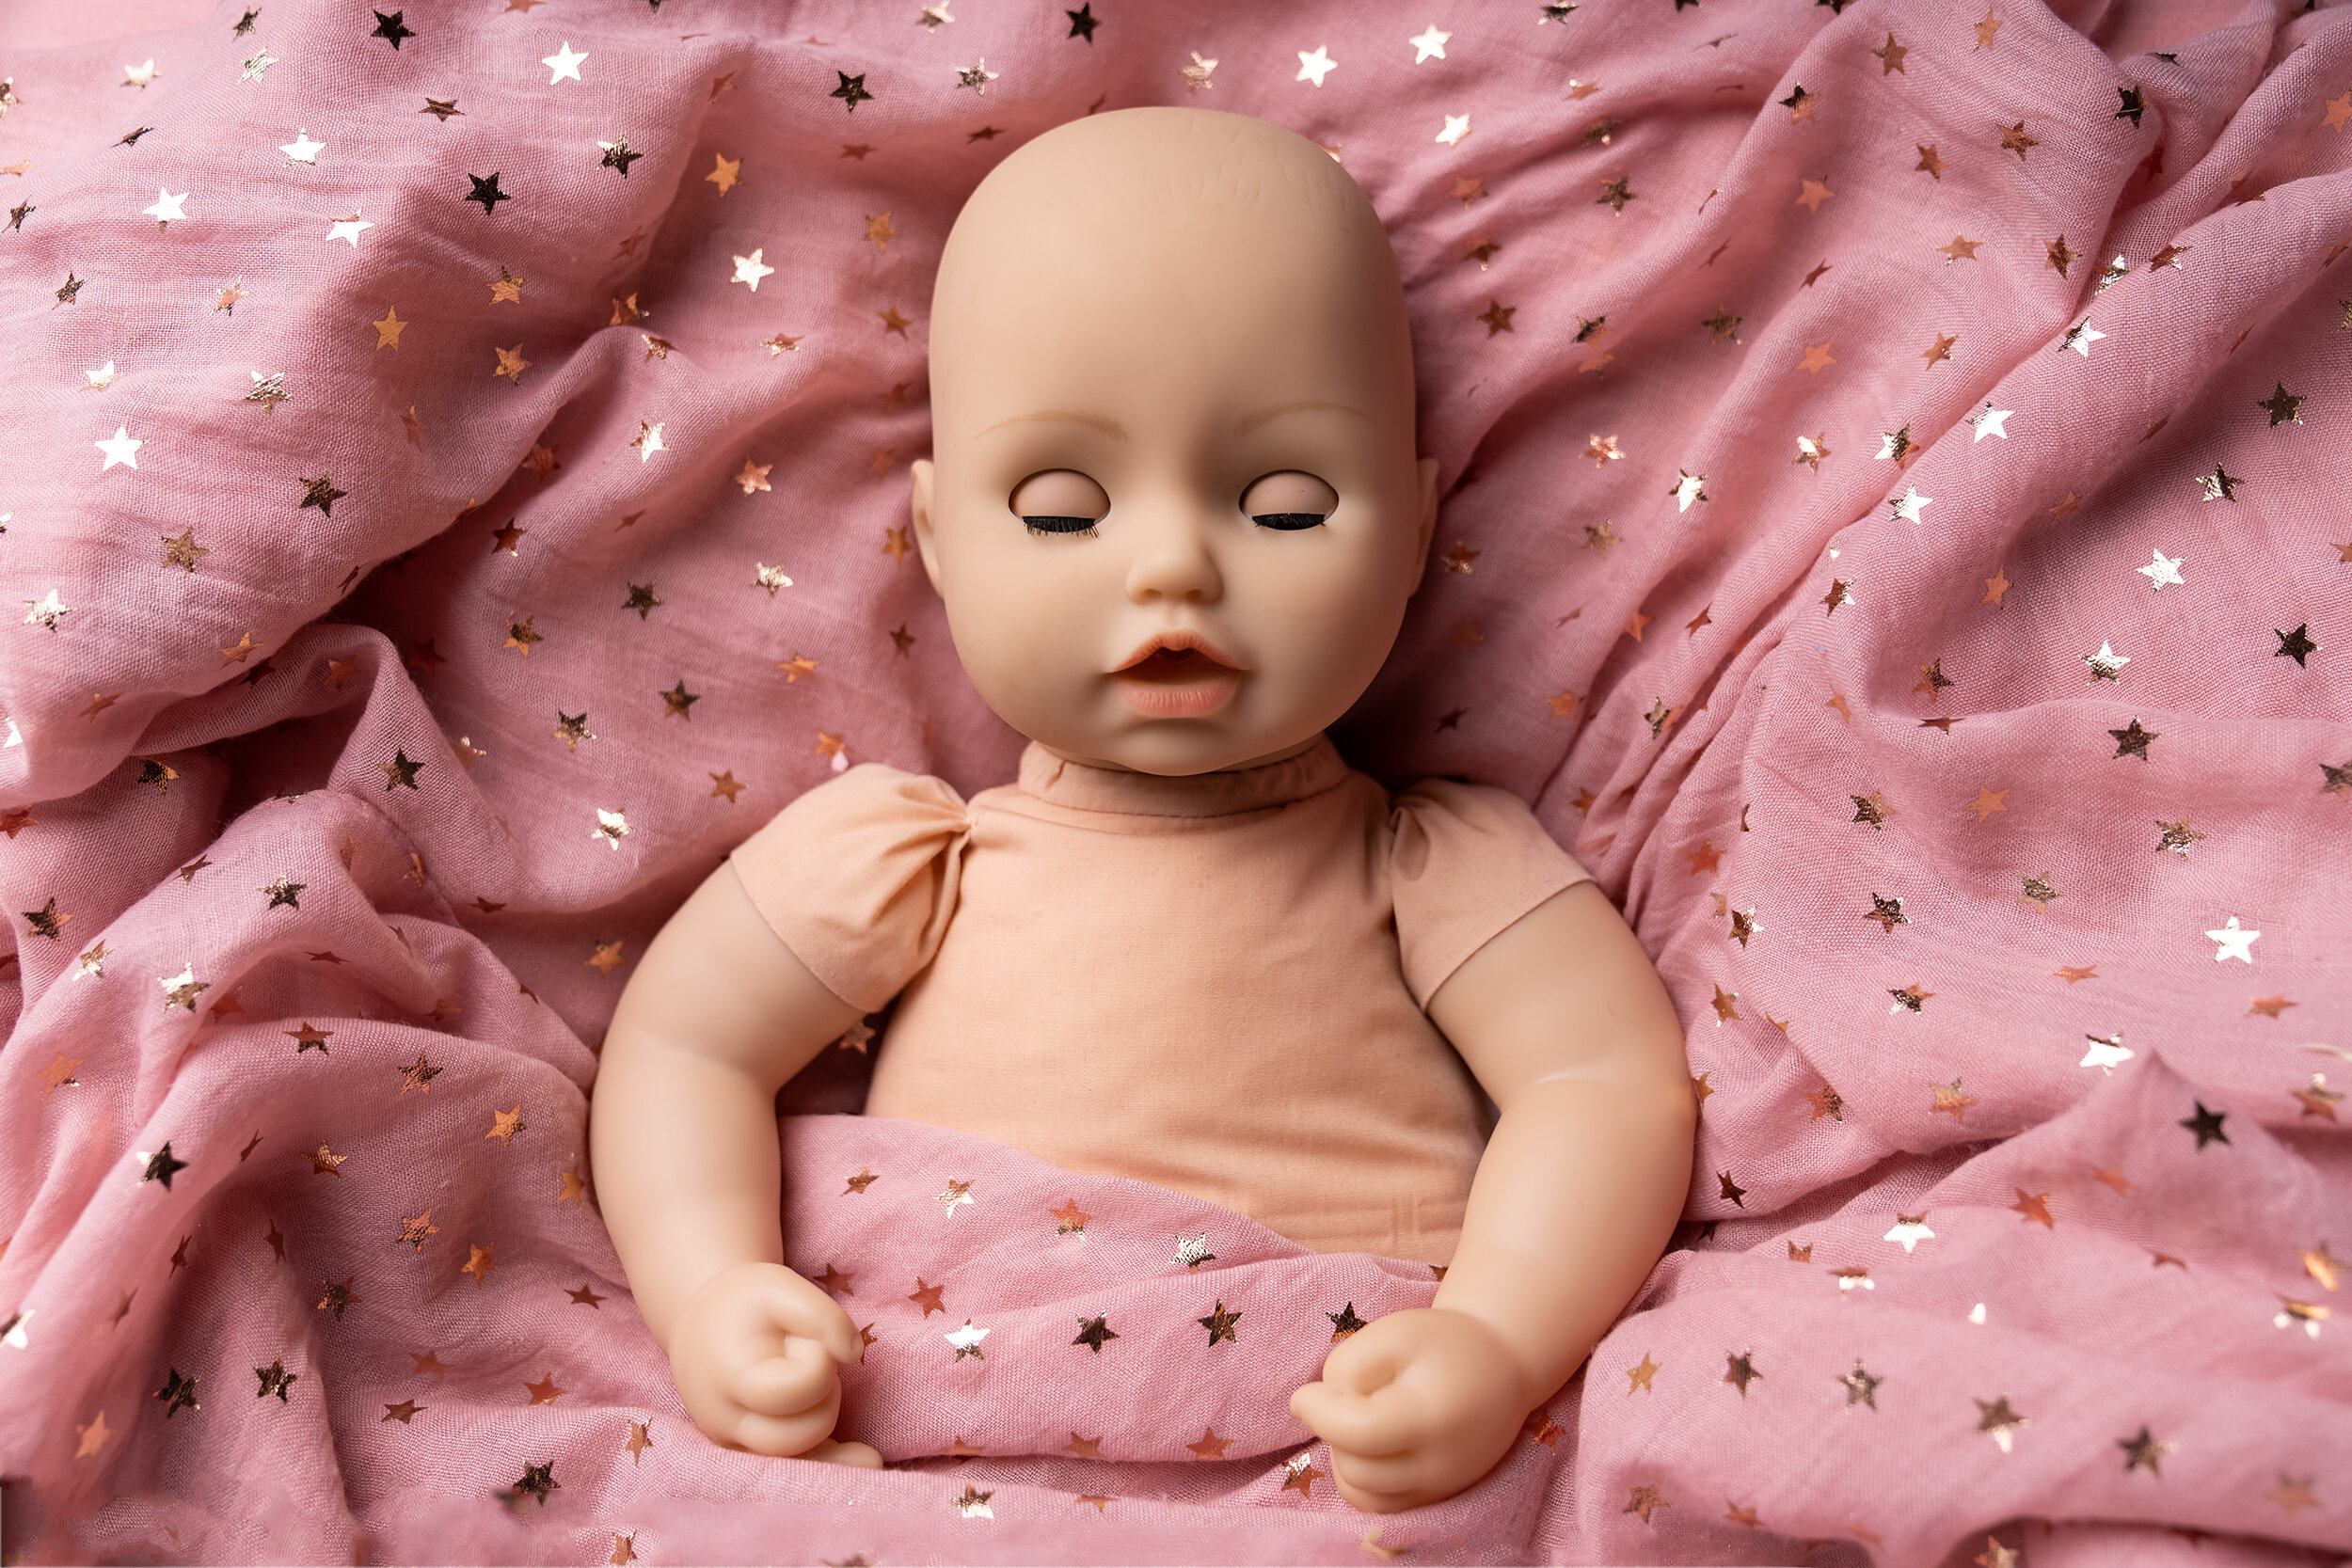
I went off to my garden studio and took some photos using my daughter’s doll in a bid to help.
This got me thinking about all of my other expectant mothers on my wait list and I thought I would turn my email into a helpful blog for everyone to use.
So, if you’re interested in getting some beautiful images of your newborn baby (or baby up to sitting age), then read on…
First things first - Safety
Please do look through professional photographers work and take notes on the type of image you would like (colours, background etc). But, please don’t try and do any poses that we use. We have been trained in newborn safety and know how to get those beautifully posed images without causing any danger or harm to the newborn. A lot of our images that you see have had a parents hand that was holding the baby safely in place, removed in photoshop.
Make sure you watch your baby closely for signs of discomfort and stop immediately if they start to get upset or if you think something is wrong.
I am only showing you one very easy and natural way for your baby to lay, so you will hopefully be able to get some beautiful photos without any fuss.
Now that you know to be very careful, pick a room with good natural light and start getting set up.
What you will need
For this, you will need the following:
3 pillows
A bed sheet in a colour that you want to show in your images
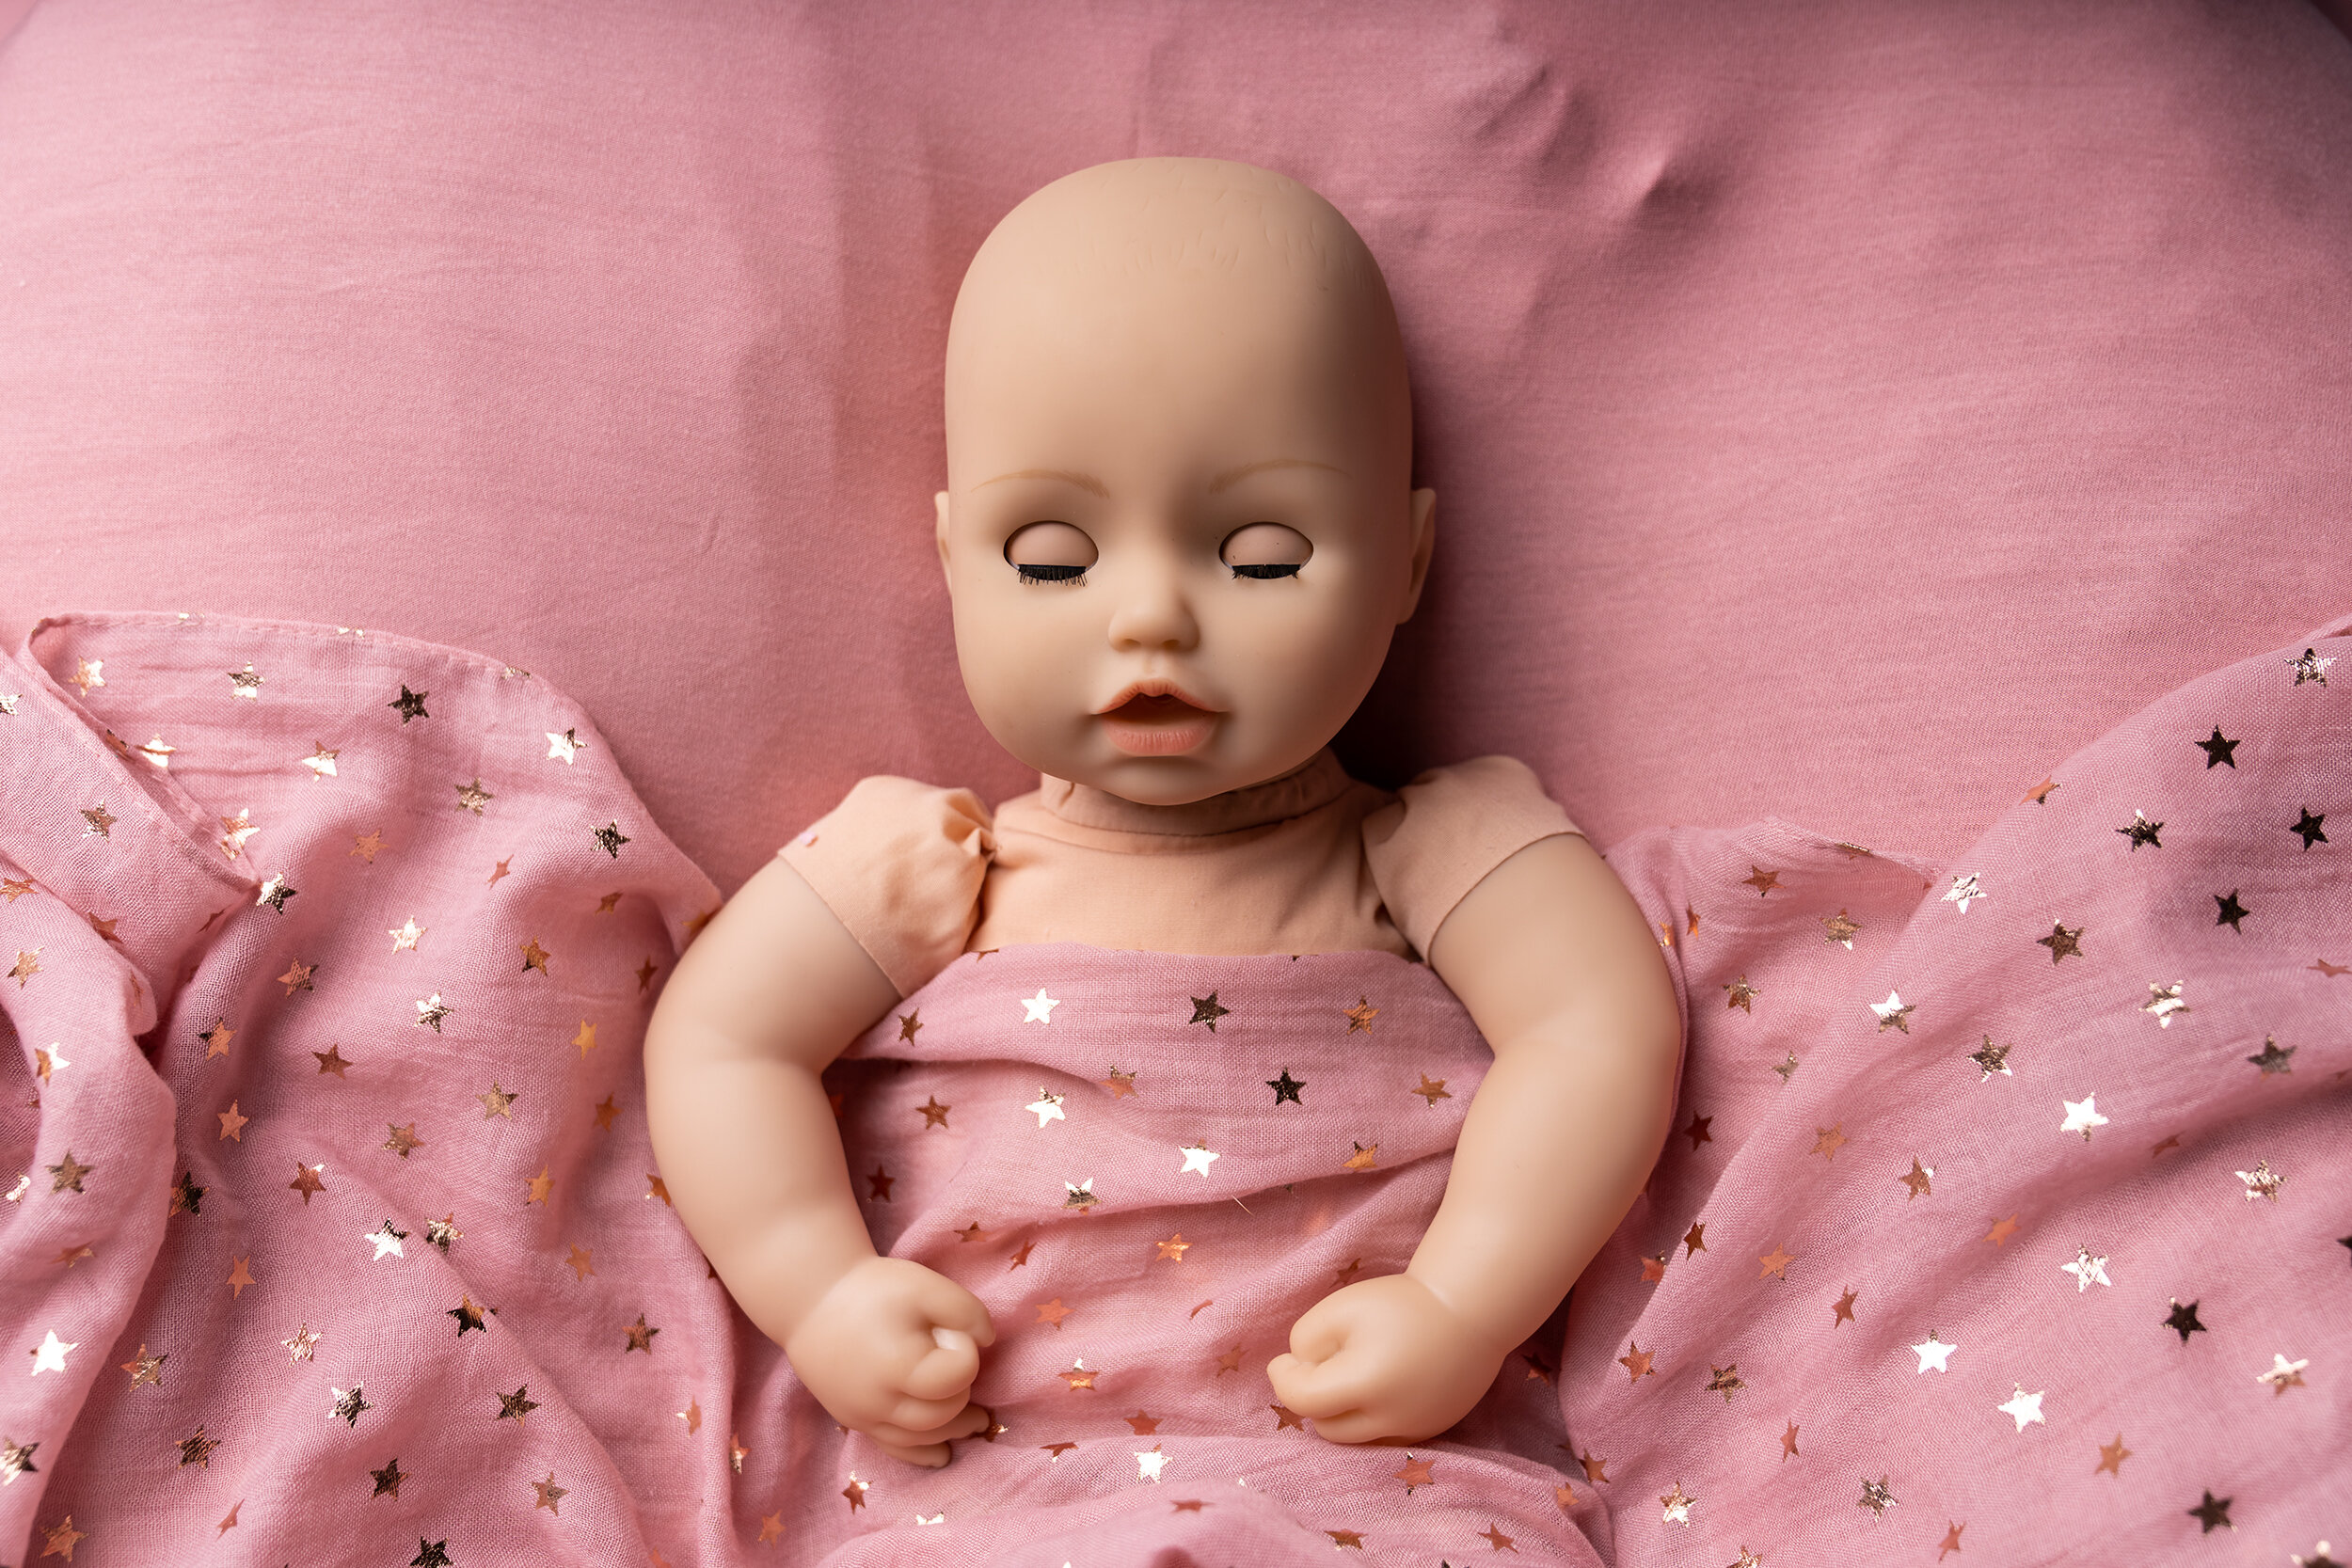
A decorative scarf/shawl (optional)
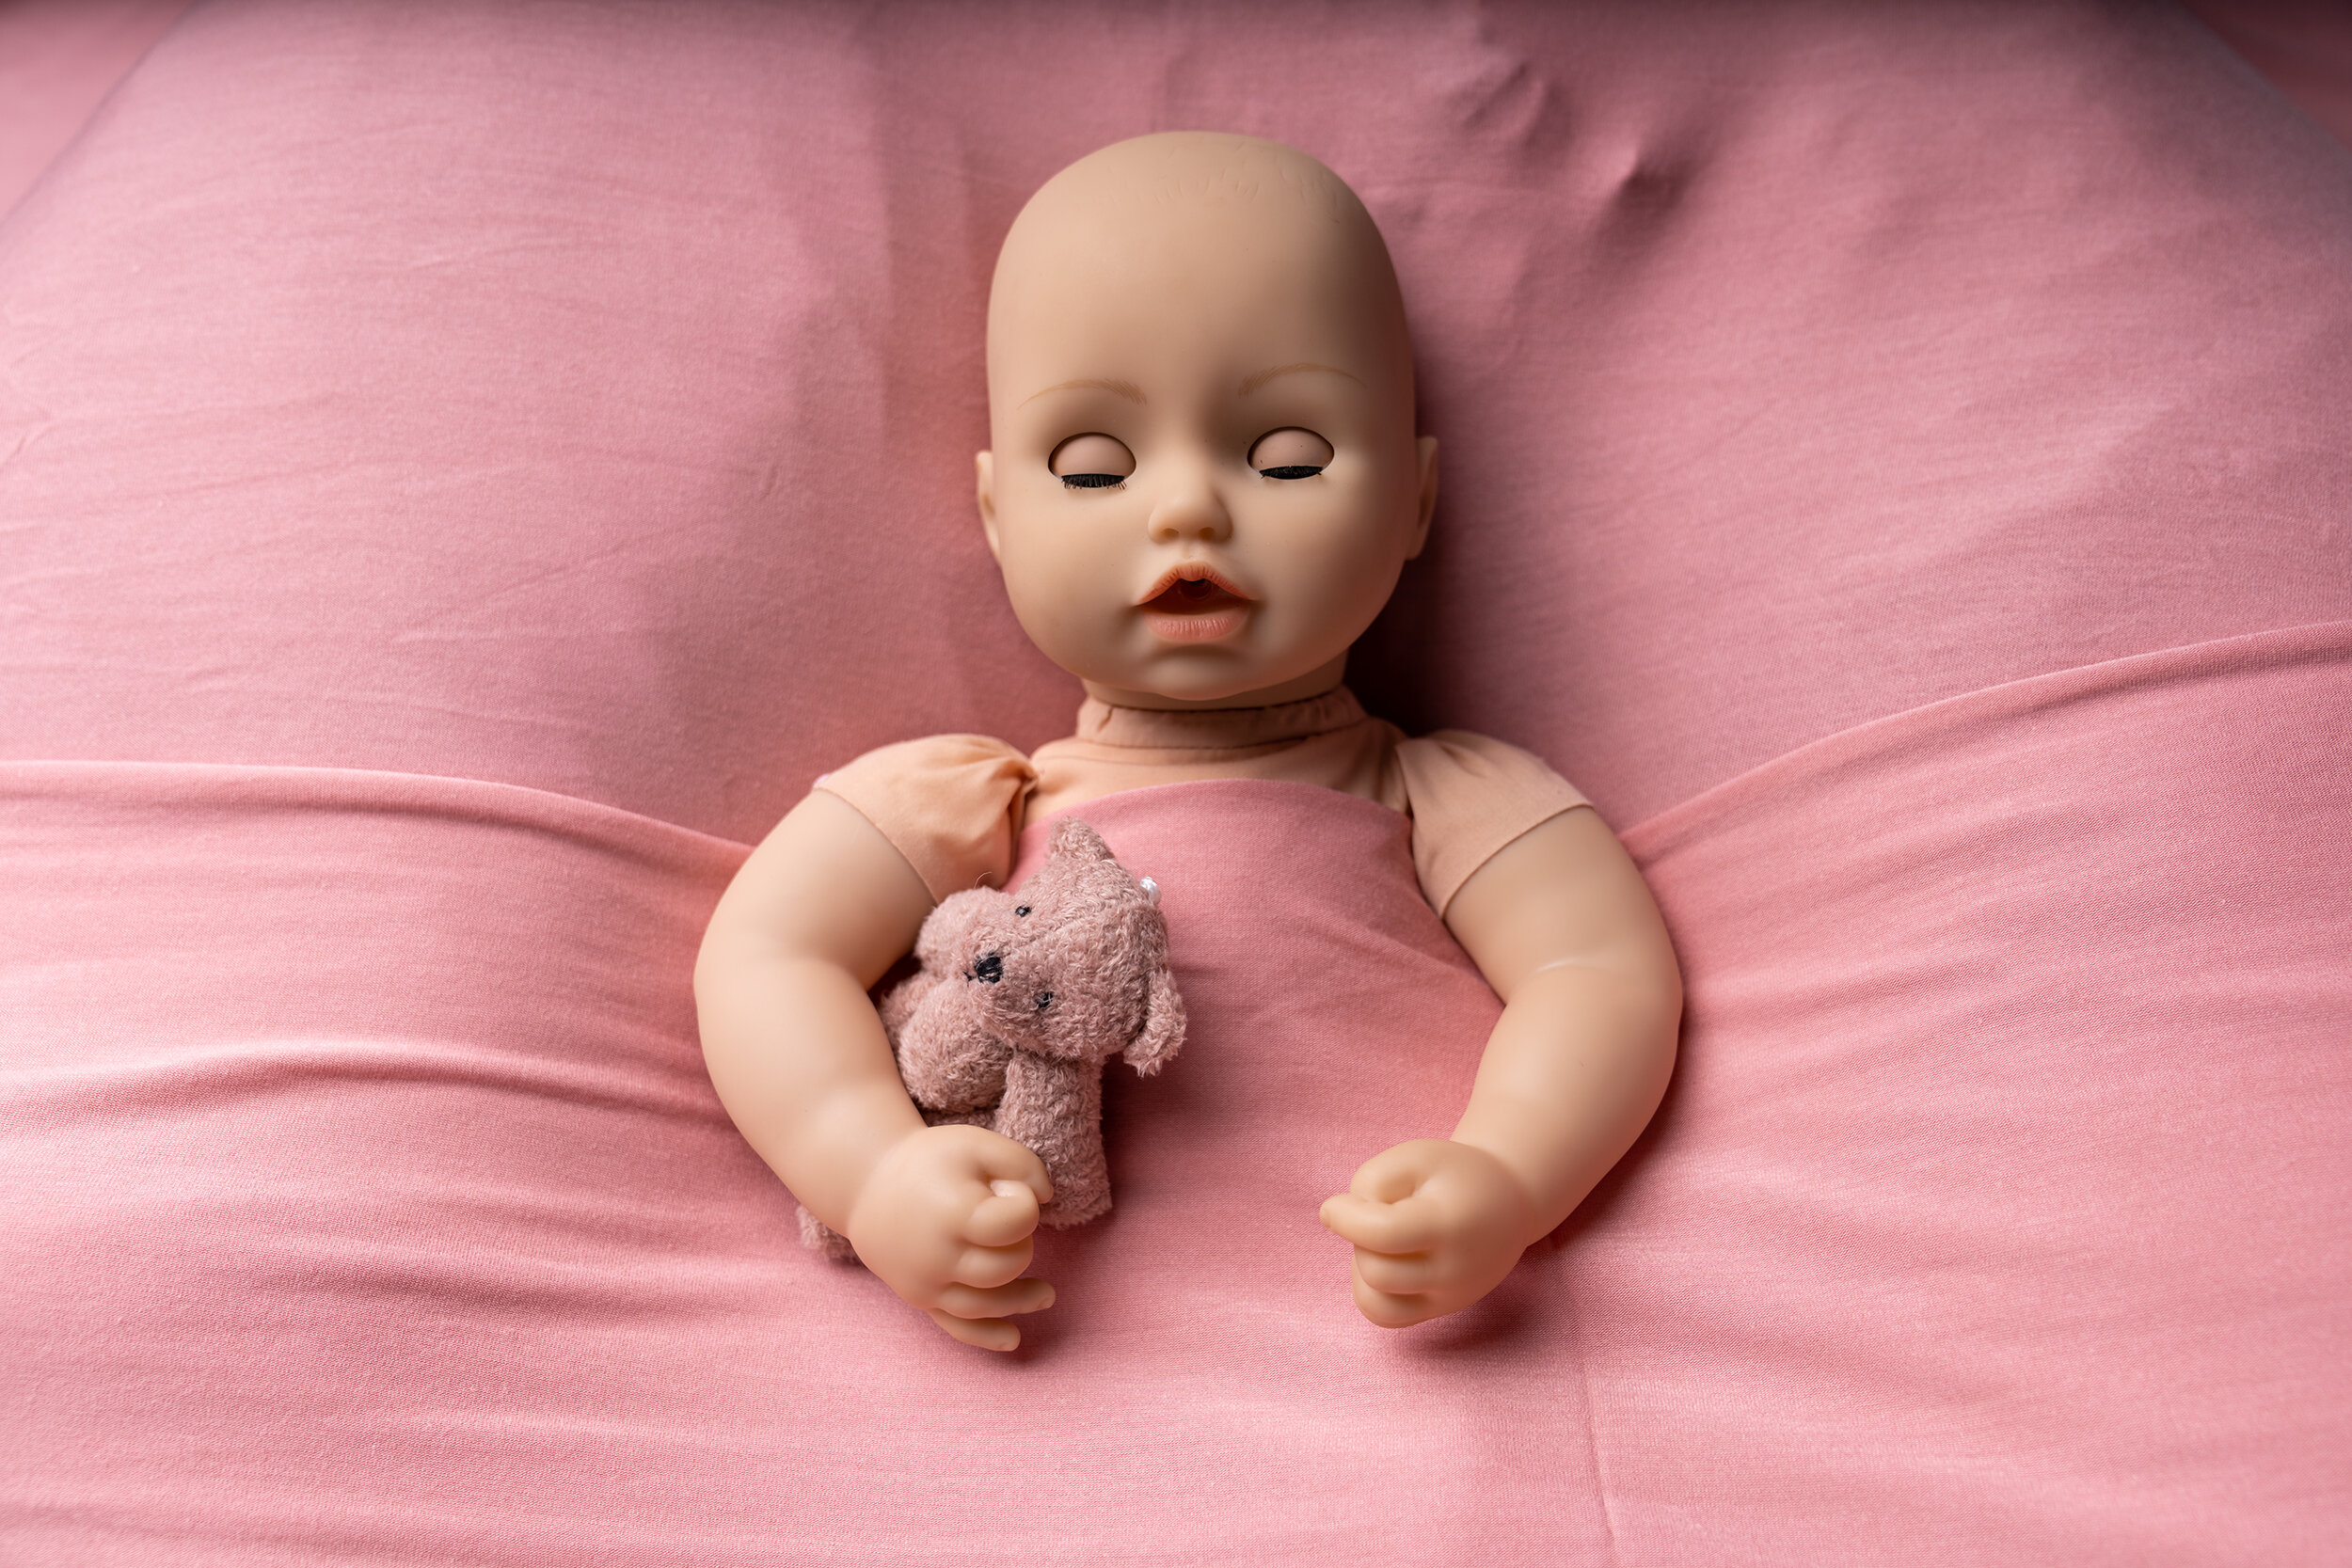
Any very small teddies or toys that you think will work well with your set.

Lighting
Pick a room with the best natural light…a bedroom will probably work the best as the bed will be raised to the height of the window. If the sun is coming through too strongly, place your set out of the direct light if you can, or wait for a cloudier day if you can’t.
Arranging the set
Now that you have found the perfect place, you will need your pillows.
Place your pillows in a triangle shape, like in the photo above. You will want to leave a little hole in the middle. This will be for your baby’s bottom to sit.
Now get your base sheet and place it over the top, making sure you’ve spread it across neatly, with as few creases as possible.

Baby preparation
Getting your baby full and sleepy is key here. So, plan to do your session straight after a feed.
Before you start, you will need to remove your baby’s clothing (but leave the nappy on). Baby suits are quite often oversized and cover their cute chubby arms and rolls - these are the bits that are lost over time and you will fondly remember through your photos.
as you will be popping your baby down with just a nappy on, I would recommend turning the heating up just a little bit to ensure they stay nice and warm.

Now that you have a warm, fed and content baby, pop them down gently onto your pillows. You want the baby’s bottom to sit in the hole created by the pillows. Ensure that their head is well supported and can’t roll to the side. Place your scarf/shawl over your baby loosely. It should sit just below their armpits.
If your baby is still awake, let them kick about, you will still get some great photos!
This little chap below was awake for his entire session :)

This is a great, easy photo to get, providing your baby will hold your fingers (they usually do)!
Camera V’s Phone
Cameras on phones are brilliant these days, plus the ease at which you can use them is second to none. However, if you have the option of a camera (just a holiday camera), then use that. Your images will look much better and will hopefully be of a larger file size, meaning you will be able to print these to a nice size.
Getting the right angle
So, your baby is settled nicely on the bed and you’re ready to take some photos.
As you will be holding your phone/camera over your baby, please use a wrist strap to ensure you won’t accidentally drop it.
The below images have been taken over the top of baby, with the focus on their eyes. Most good phones/cameras have facial recognition these days, so hopefully, you can use that.
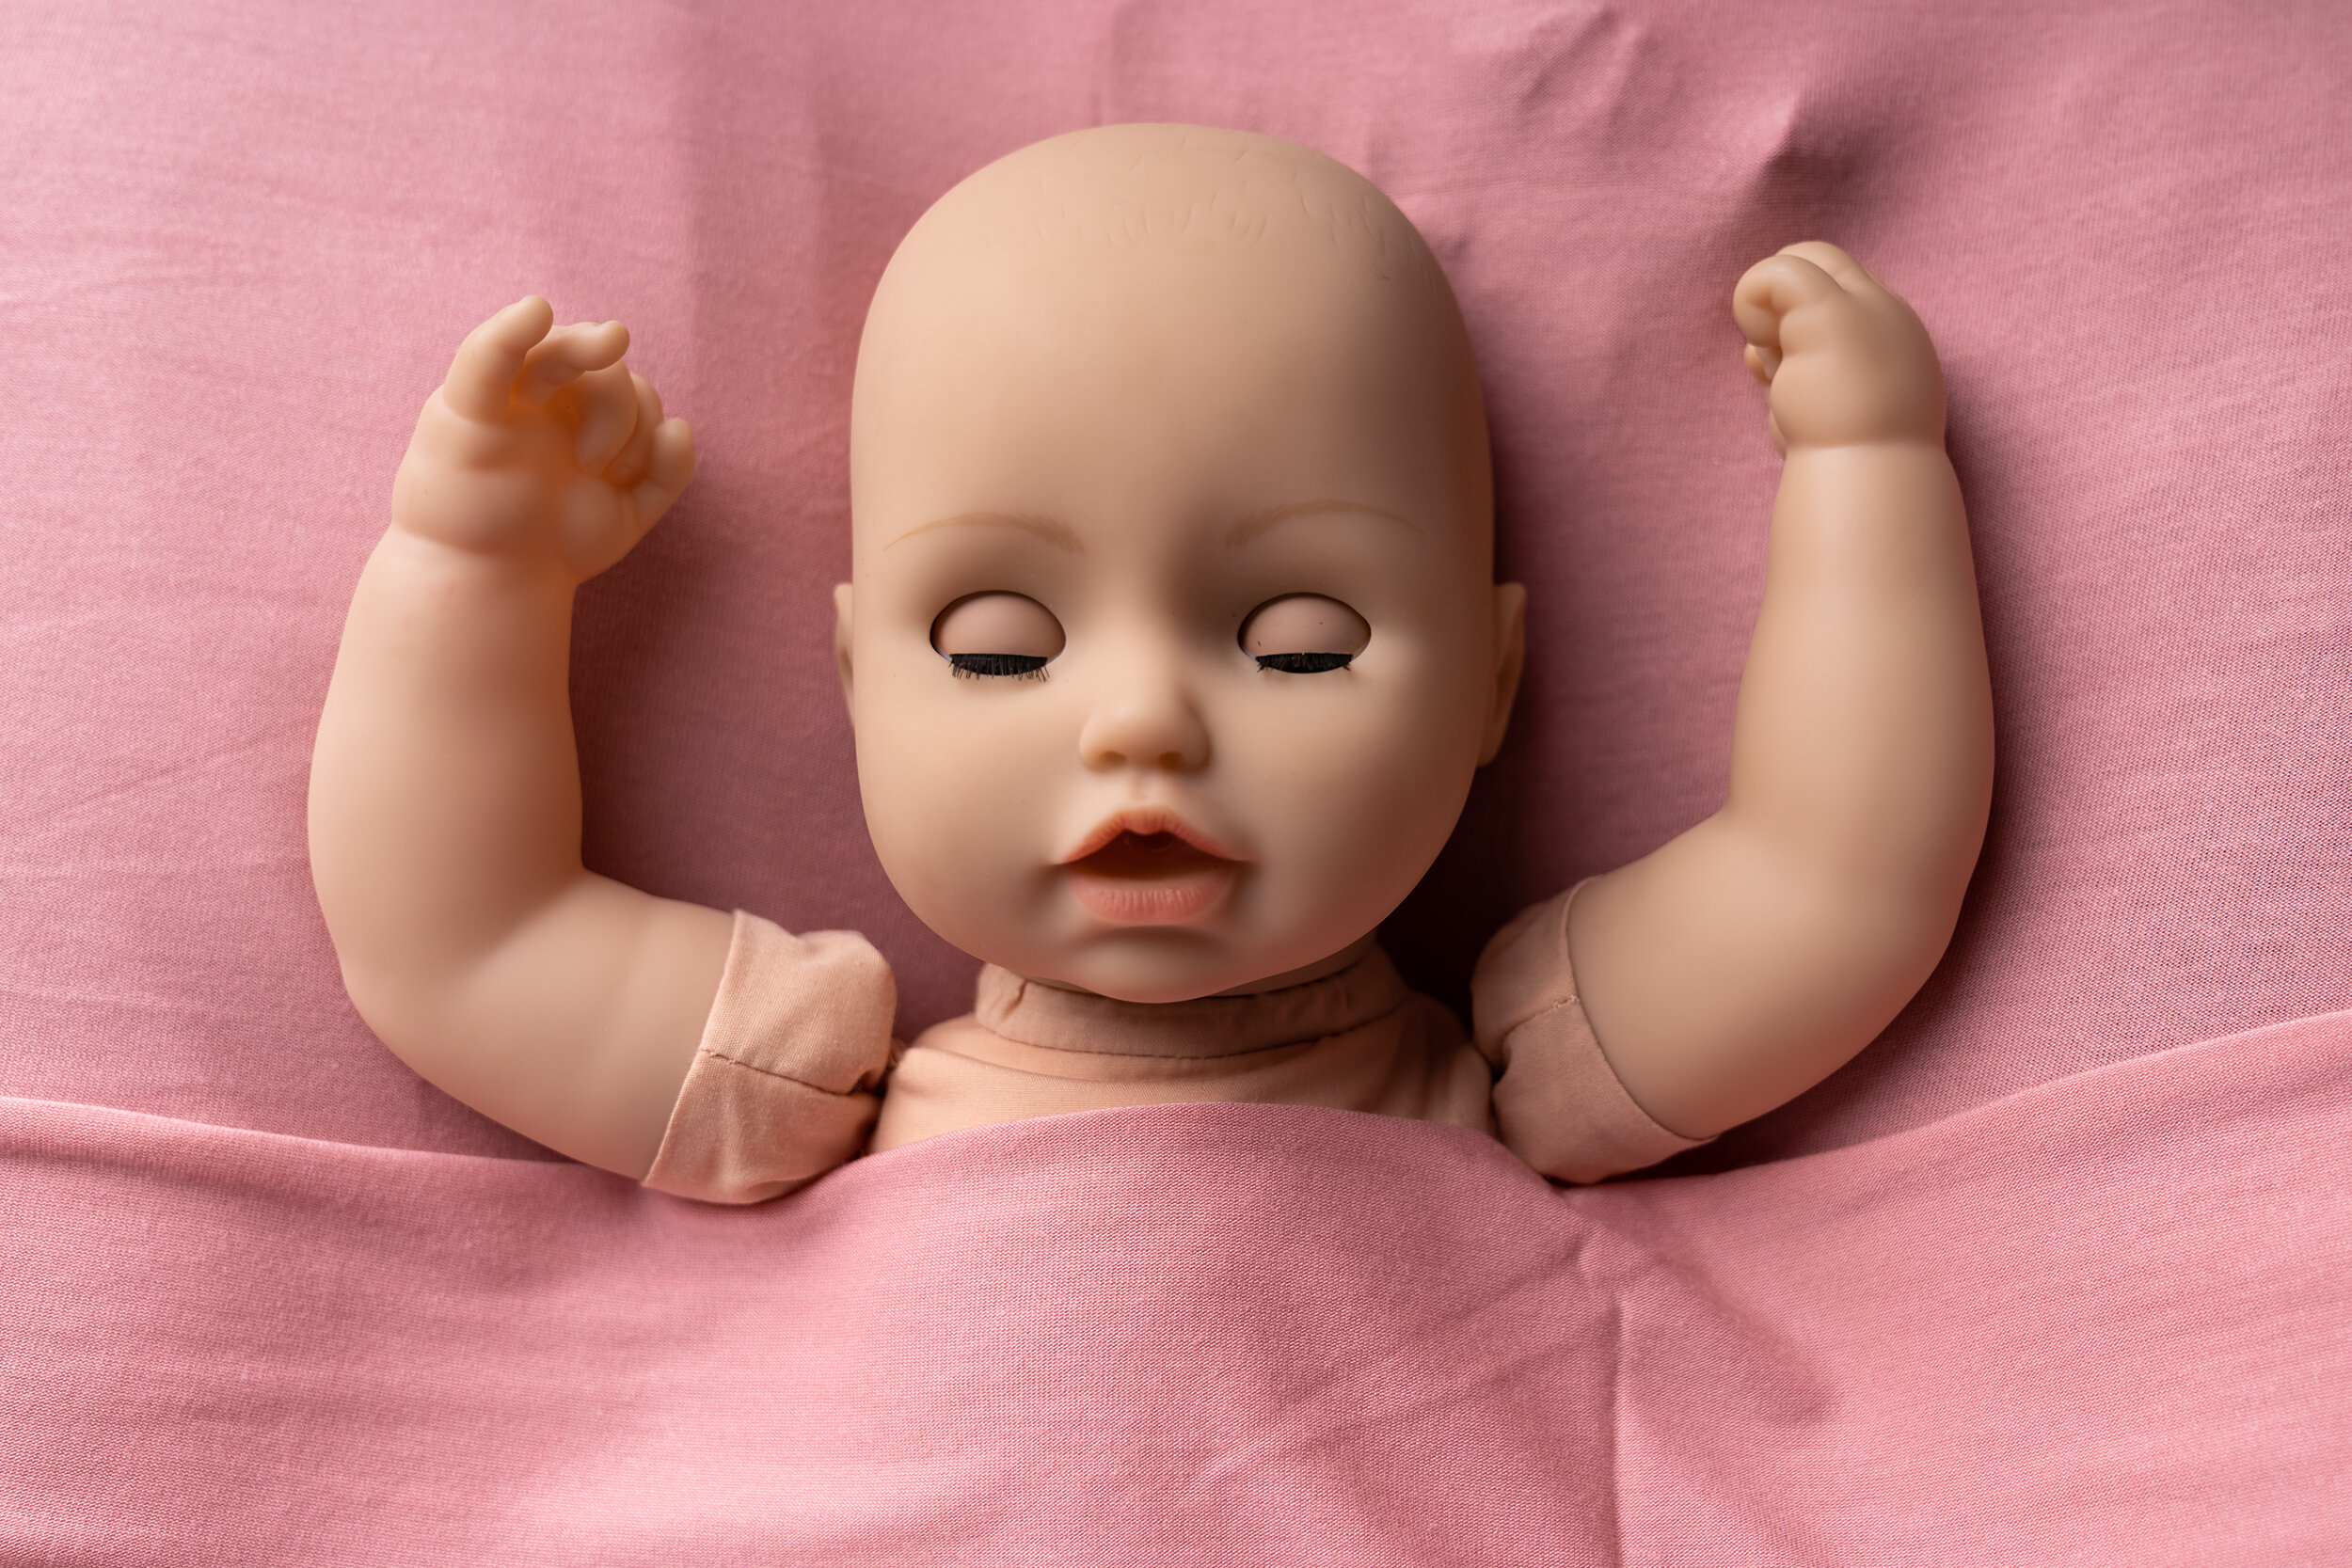
Have a play with your angles and take a few from the side aswell. Have some fun😁
If your baby prefers to lay on their side, then position them like that and get some side shots instead. Just make sure that they can’t roll off the bed. Having your partner close by to keep a close hand is always a great idea.
